We massively leveled up our raytracer in this assignment. First, we added support for mirror and glass surfaces. Then, we opened things up to all sorts of new microfaceted materials. Then we were mesmerized by environment lights and finally captivated by being able to change the depth of field
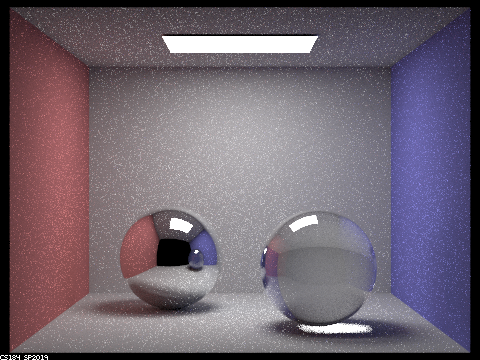
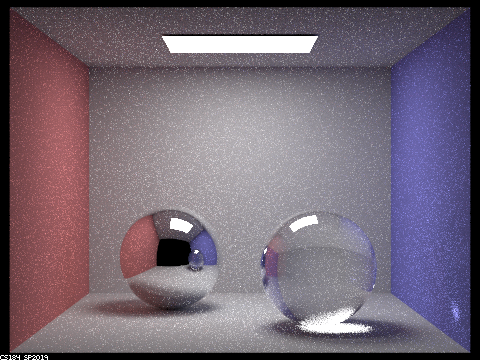
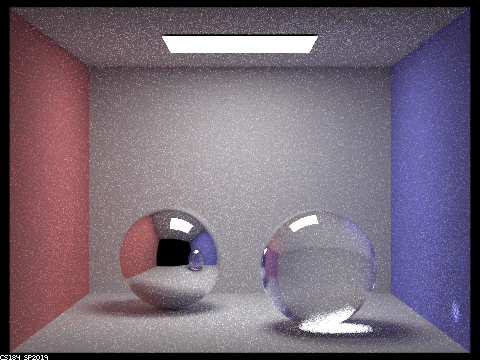
Part 1: Mirror and Glass
Implementation notes:
- For mirror/ glass reflection was a simple one line transformation.
- For Glass materials, we had to implement refraction. We used the refraction index and Snell's law to change the direction of the incoming ray.
- For the last part, we covered three cases, when total internal reflection occurs, normal reflection and refraction. We check for total internal reflection, then if it doesn't happen we essentially filp a coin with a special probability to determine if we should reflect or refract.

|

|

|
|

|
|
|
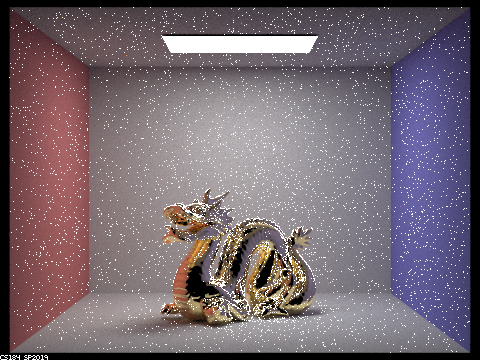
Part 2: Microfacet
Implementation notes:
-
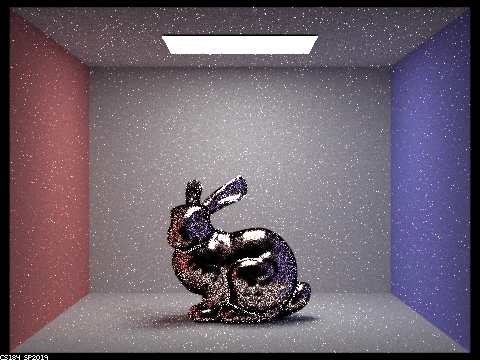
We implemented three main functions here:
one to get the Normal Distribution Function, one to get the Fresnel term, and one to sample the BRDF.
- The normal distribution function defines the normals of the microfacets. We use the Beckmann distribution to figure out our normal distribution. We also use alpha, where a higher alpha means our surface is more diffuse, and lower alpha means our surface is glossier.
- We simplified this part by only calculating the fresnel term at the the red, green and blue wavelengths.
- Finally we replaced cosine sampling with imprtance sampling. Pdfs resembling the normal distribution function are given higher priority, because that reduces noise and makes convergence faster.
|

|

|

|
|

|

|

|
Part 3: environment light
Implementation notes:
-
This part progressed in 3 phases
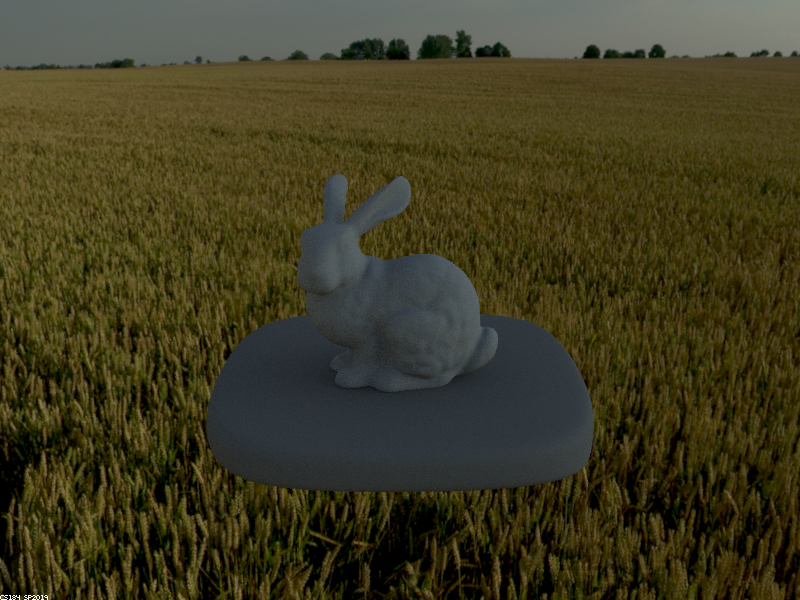
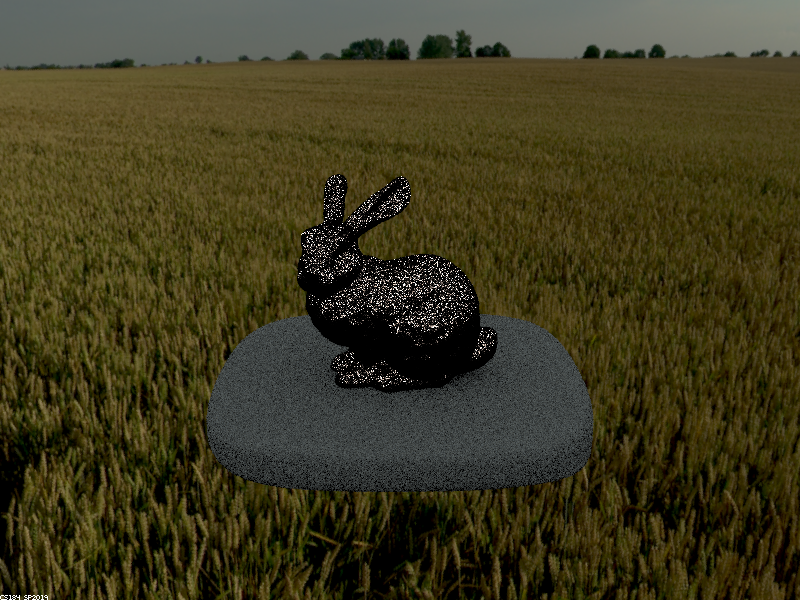
- First, we implemented uniform sampling, by just randomly sampling from the sphere and checking the environment map for the corresponding value.
- Then we calculated probability tables for the marginal and conditional distributions. This was particularly error prone process with a lot of steps that I had difficulty keeping straight.
- Finally we sampled using those probability tables so we could focus on the probabilitically important features of the scene.

|

|

|
|
|

|
Part 4: Depth of Field
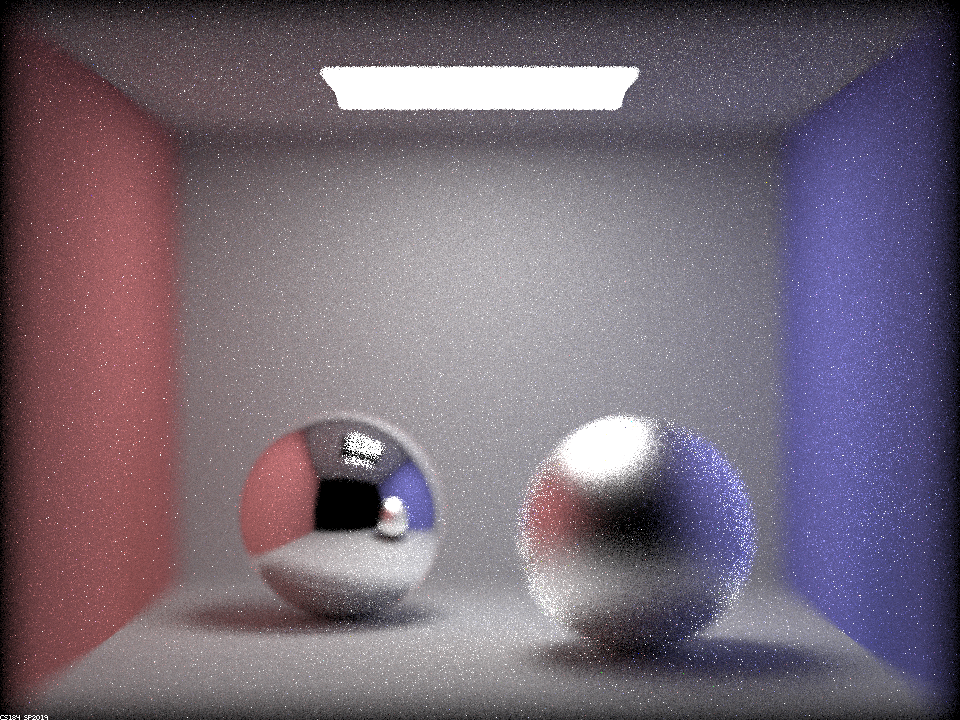
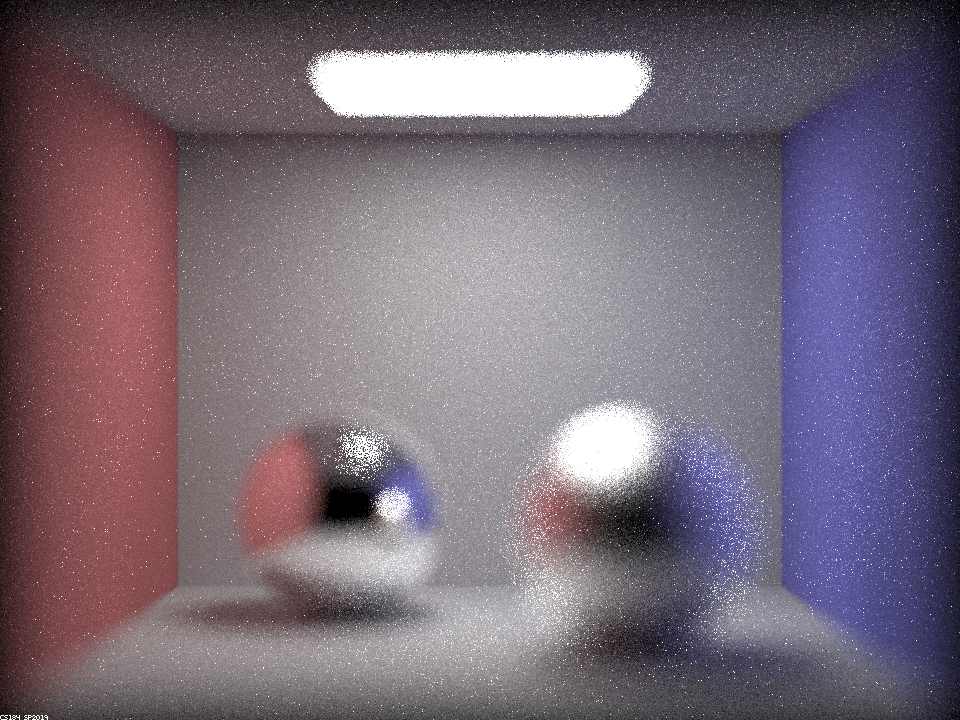
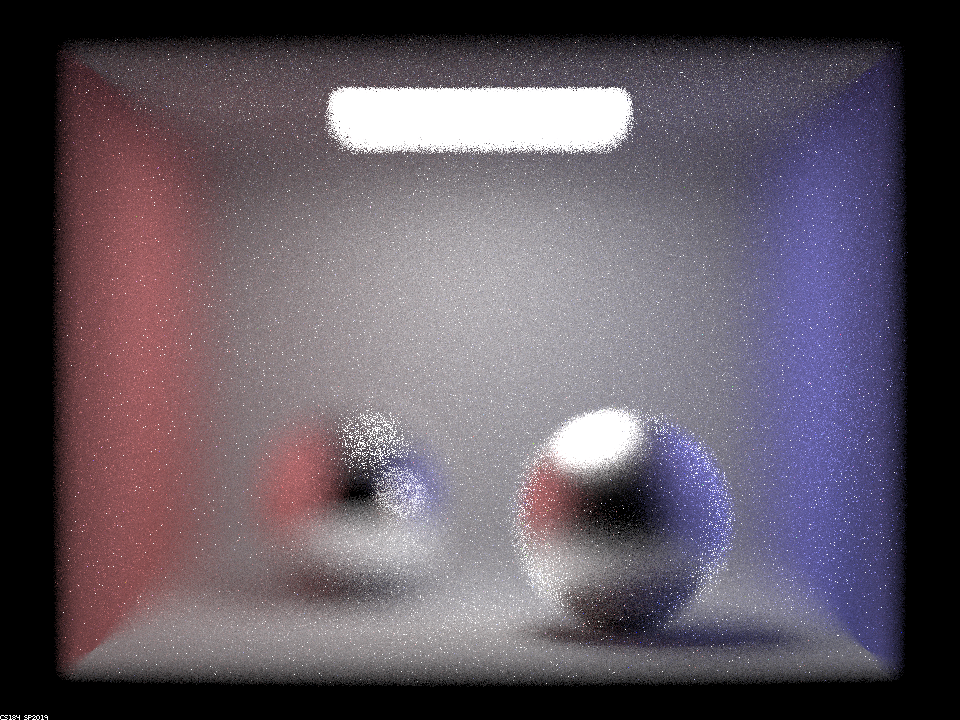
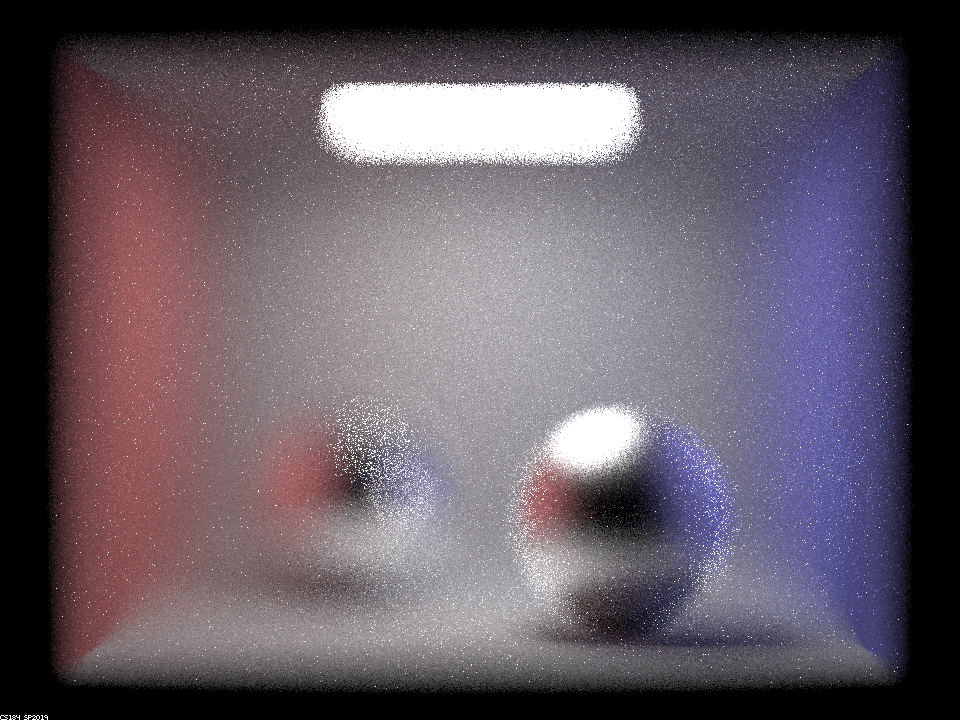
For depth of field, we used the diagram in the spec to visualize the way a thin lens operates. So far all of our stuff has been rendered assuming a pinhole camera, but our eyes work very different from that. This helps us model our eyes more cloesly. Pinhole cameras also show everything in the view of camera as perfectly in focus. The ideal thin-lens has no actual thickness. It allows us to show focus and blur in a picture.
Focus stack 4.9, 5.3, 6.0, 6.7
|

|
|

|
Aperture stack 0.25, 0.3533, 0.5, 0.707

|

|
|
|